


















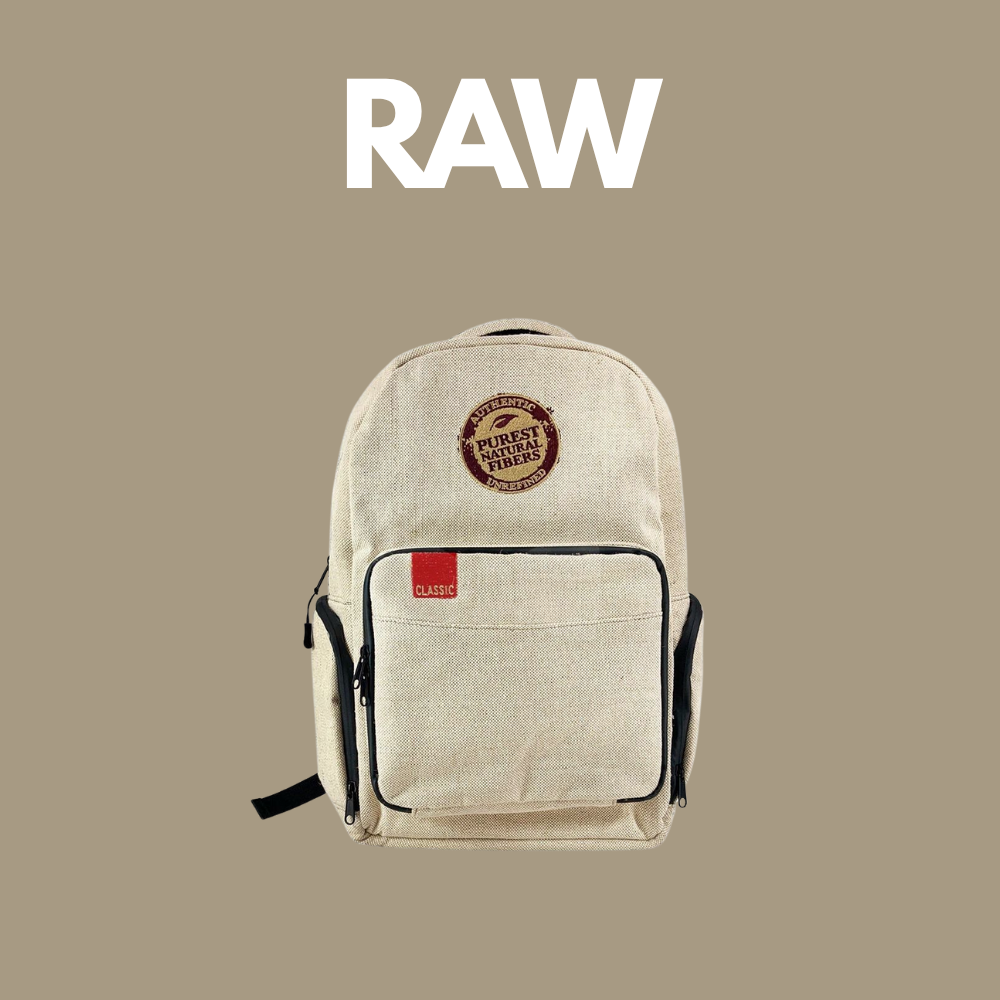


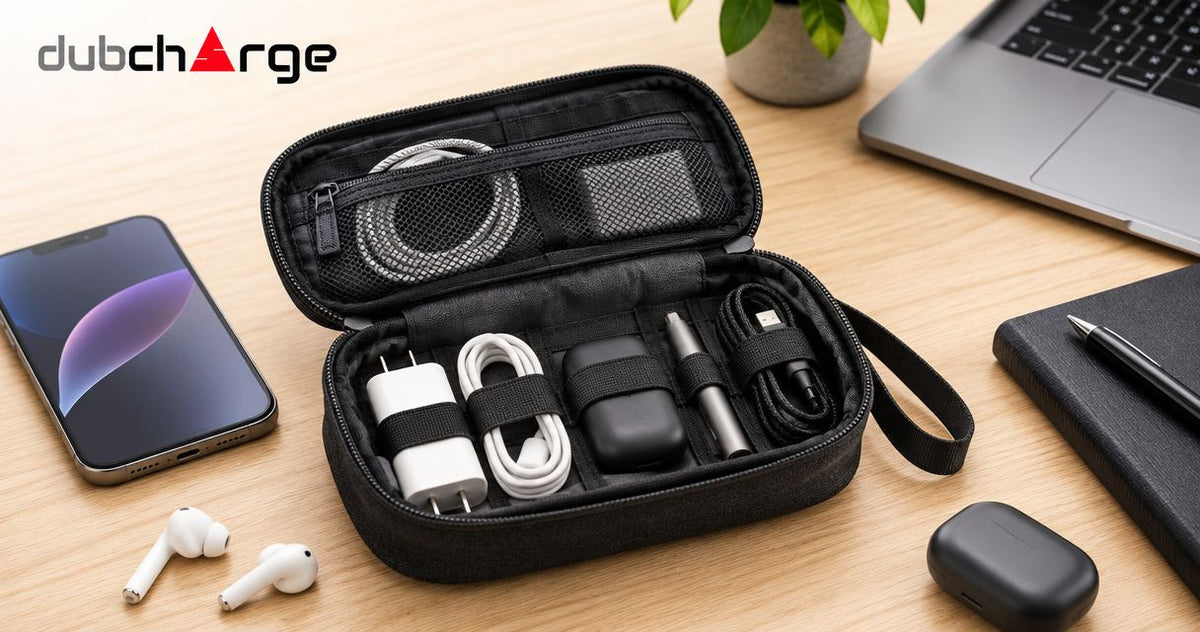
Organize a small accessory bag by emptying it, removing duplicates, and giving each remaining item a fixed place based on how often you need it. Use separate spaces for frequently handled items, clean accessories, and anything that needs protection from scratches or crushing. The bag should close without pressure, and you should be able to remove an item without emptying everything else.
- How to organize an accessory bag: remove duplicates, assign fixed spaces, and protect fragile items.
- DubCharge accessory bag care starts with clean, dry contents and a layout that leaves the zipper clear.
- Use existing pockets first; add a removable pouch only when it solves a specific separation problem.
- Repack if the closure strains, hard objects touch glass, or small items disappear beneath larger ones.
Why this matters
A small bag gives you limited room for mistakes. Loose keys can rub against delicate surfaces, crumbs collect in seams, and an overfilled compartment makes the item at the bottom difficult to reach.
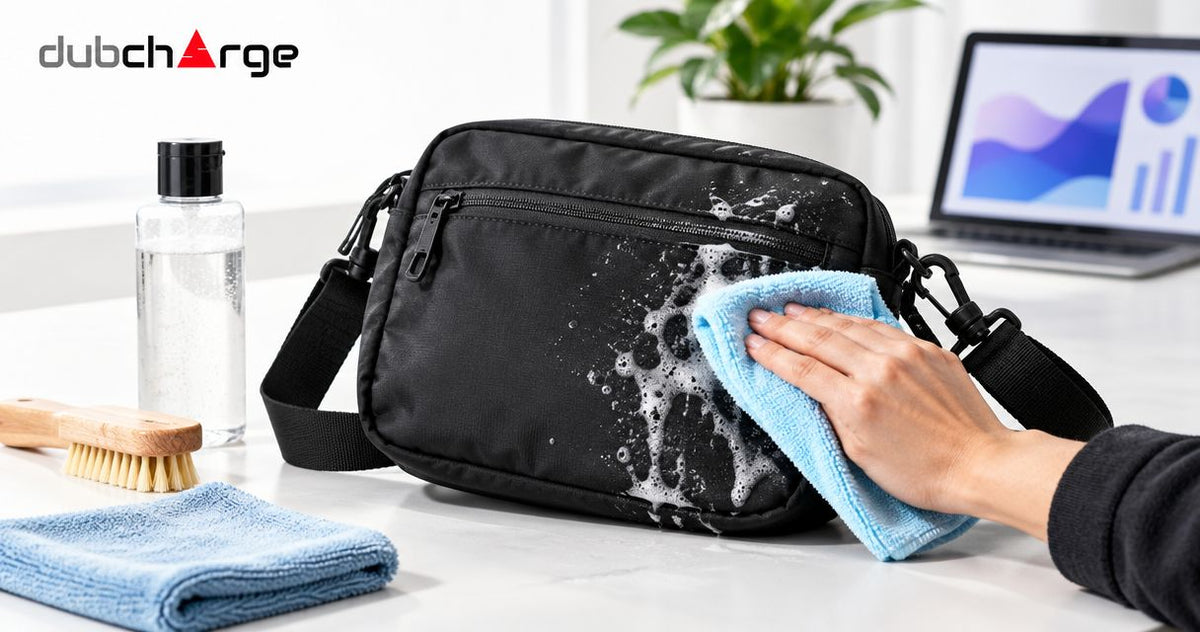
Organization also makes cleaning easier. When each category has a home, you can remove everything, inspect the lining, and return only what belongs. Start with a clean interior; follow the bag's care label and this guide to cleaning a fanny pack after everyday use before rebuilding the layout.
How do you organize a small accessory bag?
Build the layout around access and protection, not around filling every pocket. Start with the contents you actually carry, then decide which compartment each item needs.
1. Empty the bag completely
Open every compartment and place the contents on a clear surface. Check pocket corners and the space beneath removable inserts rather than assuming the main compartment holds everything.
Separate loose debris from items you intend to keep. Inspect the lining, seams, and zipper for damage before repacking; a torn pocket cannot reliably hold small accessories.
Do not reach blindly into a compartment containing broken glass or an unidentified sharp object. Set the bag aside and address the hazard before continuing.
2. Remove duplicates and unrelated items
Keep the items you use together, not everything that happens to fit. Take out old packaging, loose receipts, unnecessary spares, and objects that belong in another bag.
A duplicate earns its space only when you have a clear reason to carry it. If you cannot explain when you would need the spare, leave it in an appropriate storage location instead.
This is the most useful point to reduce bulk. Buying an insert before sorting the contents can leave you with the same clutter inside a smaller usable space.
3. Assign 3 practical zones
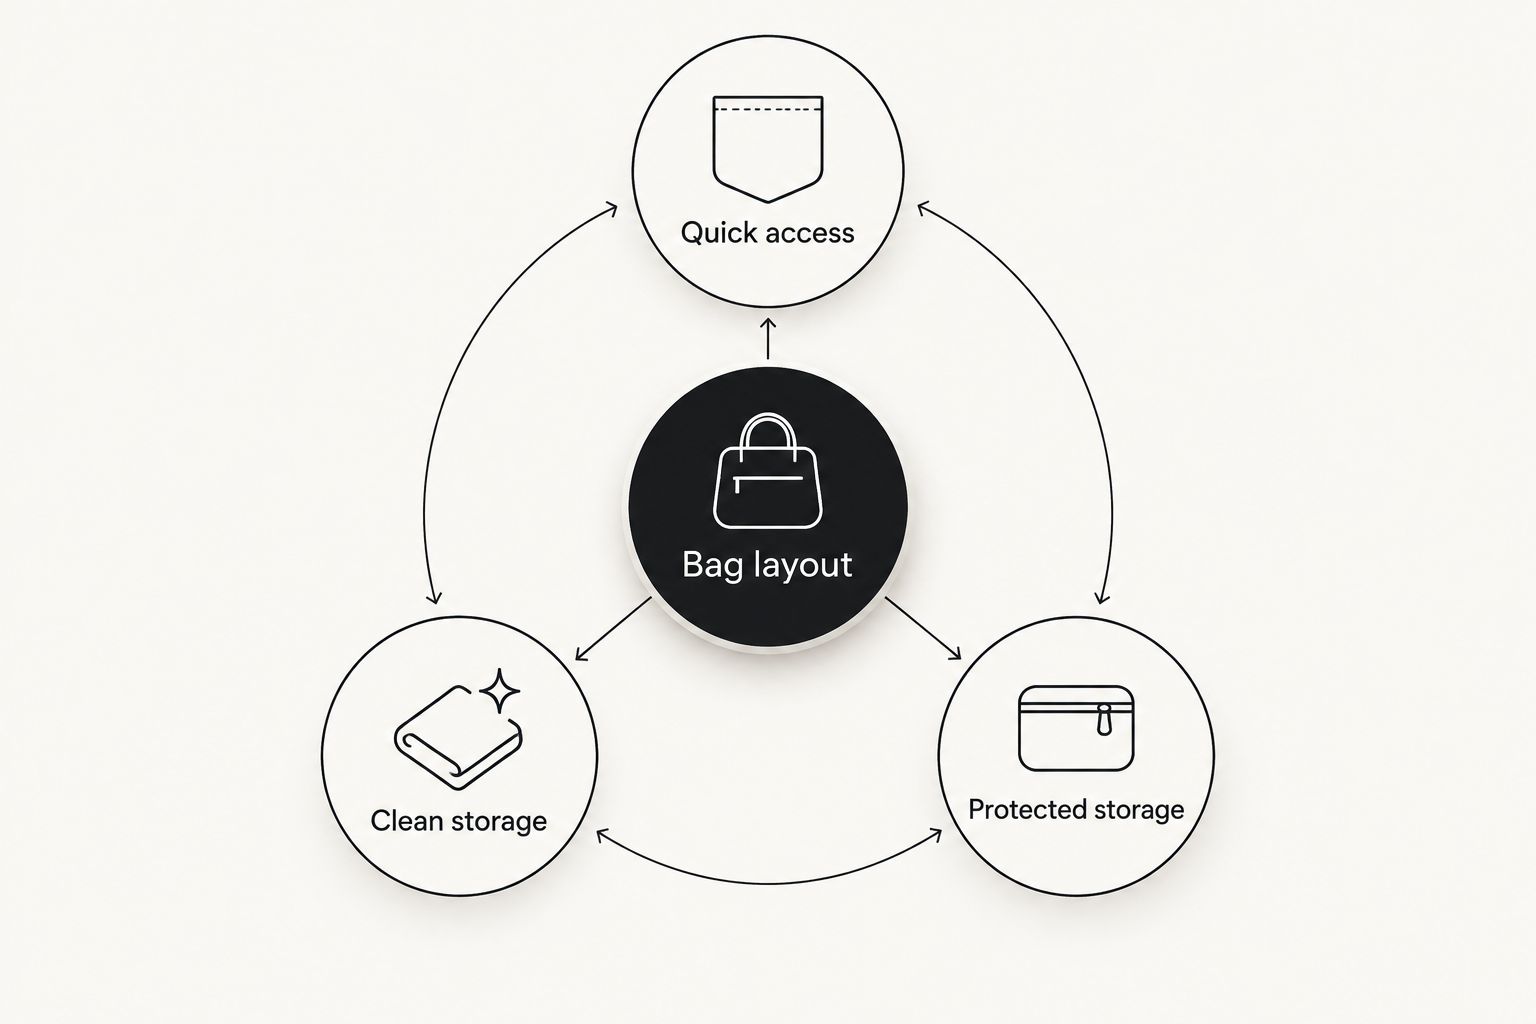
Use 3 zones as a starting layout: quick access, clean storage, and protected storage. These are roles, not a requirement to own a bag with 3 separate compartments.
- Quick access: Frequently handled, non-fragile items that you can identify easily.
- Clean storage: Dry accessories kept apart from crumbs, dirty surfaces, and loose debris.
- Protected storage: Delicate items that need separation from hard edges or pressure.
A flat pocket can serve one role while the main compartment serves another. If the bag has no internal pockets, a removable pouch can create a boundary without changing the bag itself.
4. Place bulky items before small ones
Set the largest necessary item into the main compartment first. Position it so it does not stretch the lining, press against the zipper, or force the bag into an awkward shape.
Then place smaller items in their assigned spaces. Avoid using every gap as storage: an apparently empty gap can be the clearance you need to reach a pocket or close the bag comfortably.
Keep hard objects away from fragile surfaces. A soft pouch separates surfaces, but it is not a substitute for suitable impact protection.
5. Test access and closure
Close the bag normally without squeezing the sides together. If the zipper catches, the flap will not settle, or a rigid object pushes visibly against the fabric, remove or reposition something.
Next, retrieve your most frequently needed item. If you must lift out unrelated contents, move that item closer to the opening or give it a dedicated pocket.
Repeat the test with the bag in its normal carrying position. A layout that works flat on a table can shift when the bag hangs from a strap.
6. Make the layout easy to restore
Return each item to the same space after handling it. Avoid a miscellaneous pocket that gradually collects everything without a clear home.
Use 1 removable pouch as a starting point if small accessories need grouping. Add another only when you can name the separation it provides; otherwise, extra fabric and closures become more clutter.
Which layout works best for your bag?
Choose a layout based on the bag you already own. Existing pockets are the best starting point because they organize contents without adding another layer. Their limitation is that their dimensions and placement are fixed.
The following options are organization methods, not product recommendations. Test the simplest arrangement before adding anything.
| Layout | Best for | Main advantage | Main drawback |
|---|---|---|---|
| Existing pockets | Bags with useful internal divisions | Keeps items separated without an extra insert | Pocket positions may not suit your contents |
| Removable pouch | Open compartments holding small, non-fragile items | Lets you remove a whole category together | Uses space and adds another closure |
| Protective case | Fragile items that require suitable protection | Separates delicate contents from surrounding objects | Adds bulk and still needs a proper fit |
Existing pockets: start here
Give each useful pocket a clear purpose. A shallow pocket works for something small enough to stay contained, while a larger compartment accommodates bulkier contents without bending them.
Do not force an item into a pocket just because the pocket is empty. If it protrudes into the zipper path or pulls the lining tight, choose another location.
Removable pouch: use it for grouping
A removable pouch works well when several small, non-fragile accessories otherwise scatter across the bottom. Choose it by the contents it must hold and the opening you need to reach through.
The drawback is lost usable space. A large pouch with little inside can be less practical than placing the same items in existing pockets.
Protective case: use it for protection
A suitable case belongs around an item that needs protection, not around every category by default. Check that the item fits without pressure and cannot knock against other contents inside the case.
For glass accessories, storage organization is about preventing contact and damage. Do not pack chipped or cracked glass, and do not assume a padded fabric bag protects against crushing.
Why your accessory bag layout varies
The right arrangement depends on physical details you can inspect. These factors matter more than matching someone else's packing diagram:
- Opening shape: A narrow opening limits what you can reach, even when the compartment beneath it is roomy.
- Pocket depth: Deep pockets can hide small objects; shallow pockets cannot contain tall ones securely.
- Contents: Hard, fragile, flexible, and easily marked items need different boundaries.
- Carrying position: Contents settle differently in a hanging bag than in one lying flat.
- Care instructions: Removable and fixed linings require care appropriate to their materials.
- Access needs: The item you reach for most should not sit beneath something you rarely handle.
Change the layout when the contents change. Adding a bulky object without removing anything else can turn a workable arrangement into a strained closure.
How do you keep clean and dirty accessories separate?
Keep clean, dry accessories away from items awaiting cleaning. Do not put a dirty item back into its usual clean pocket simply because that is where it fits.
Remove the item for appropriate cleaning and inspect any surface it touched. If something becomes damp, follow its care instructions and let it dry fully before returning it to storage.
An empty compartment is not automatically a clean compartment. Check for grit, crumbs, visible residue, and moisture before moving clean contents into it.
For routine organization, make the distinction visible: use a designated clean pocket and leave items awaiting cleaning outside the packed bag in an appropriate location. Do not use the bag as a place to postpone maintenance.
How do you stop small items from getting lost?
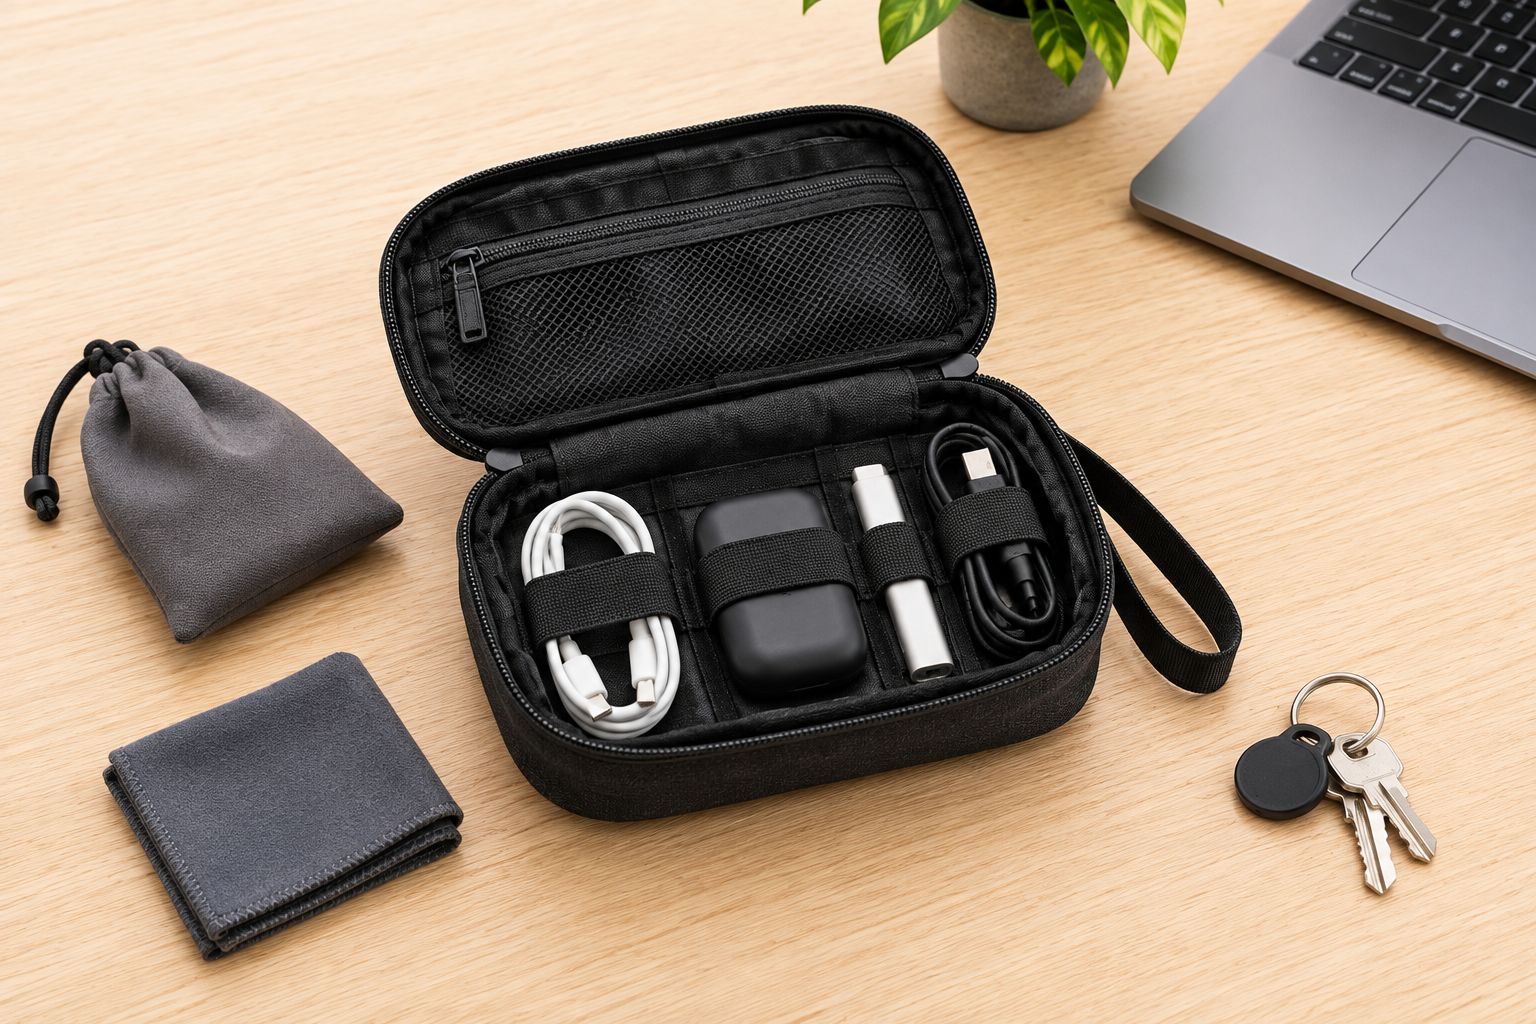
Give small items a contained space rather than dropping them into the main compartment. A properly sized internal pocket is the simplest option; a removable pouch helps when the bag lacks one.
Avoid stacking unrelated categories inside nested pouches. If you must open several layers to reach an everyday item, the organization is working against access.
Use the same position consistently. The benefit comes from knowing where an item belongs, not from adding more compartments than you can remember.
How full should a small accessory bag be?
A small accessory bag is too full when normal closure or access requires force. There is no need to target a fixed fill percentage: test how the actual bag behaves with its actual contents.
Look for these warning signs:
- The zipper catches fabric or contents.
- A rigid edge presses into the outer fabric.
- Removing an item pulls unrelated items out with it.
- The bag no longer rests or hangs comfortably.
- Fragile items touch hard objects despite their intended separation.
Remove unnecessary contents before changing the organizer. If the essentials still do not fit safely, the bag is the wrong size for that set of contents.
How do you maintain the layout without constant repacking?
Use a quick reset after emptying or cleaning the bag. Remove debris, check for moisture or damage, and return each item to its assigned place.
Pay attention to the closure during that reset. A zipper that has become difficult to move deserves inspection, not a harder pull; trapped lining or debris needs a different response from an overfilled compartment.
Keep the bag's care label accessible. Do not assume that fabric, coated panels, printed areas, padding, and lining all tolerate the same cleaning method.
For DubCharge accessory bag care, the practical rule is simple: store clean, dry contents in fixed spaces, with enough clearance to close the bag normally. No packing arrangement compensates for damaged contents or a damaged bag.
FAQ
What's the easiest way to organize an accessory bag?
Empty the bag, remove unnecessary contents, and assign a fixed space to each remaining category. Use existing pockets before adding a removable organizer.
Do I need separate pouches inside a small bag?
You need separate pouches only when they solve a clear grouping or separation problem. Extra pouches also take up room and add closures between you and your contents.
Where should I put the items I use most often?
Put frequently used, non-fragile items in an accessible pocket near the opening. Check that you can retrieve them with the bag in its normal carrying position.
Can I keep glass accessories loose in a fabric bag?
Do not rely on loose fabric storage to protect glass from impacts or crushing. Use suitable protection, prevent contact with hard objects, and leave damaged glass out of the bag.
How do I know whether my accessory bag is overpacked?
Your accessory bag is overpacked when closing it requires pressure or retrieving an item disturbs everything around it. Remove contents until the closure works normally and each item remains accessible.
Should I organize my bag before or after cleaning it?
Organize your bag after cleaning it according to its care instructions and letting it dry fully. Inspect the lining and compartments before putting clean contents back.
What should I do if my organized bag becomes messy again?
Check whether the layout matches what you actually carry and reach for. Remove unused items and simplify any arrangement that requires too many steps to restore.
One last thing
Test the bag while carrying it, not just while packing it. Lift it by its intended handle or strap, set it down, and reopen it to see what moved.
If small items collect beneath something heavy or the contents block a pocket, change their positions. The useful layout is the one that stays accessible after movement—not the one that looks neat on a table.

Leave a comment
This site is protected by hCaptcha and the hCaptcha Privacy Policy and Terms of Service apply.